Being stuck at home has not only given me more time for gardening, but also to do some long outstanding jobs on the cars.
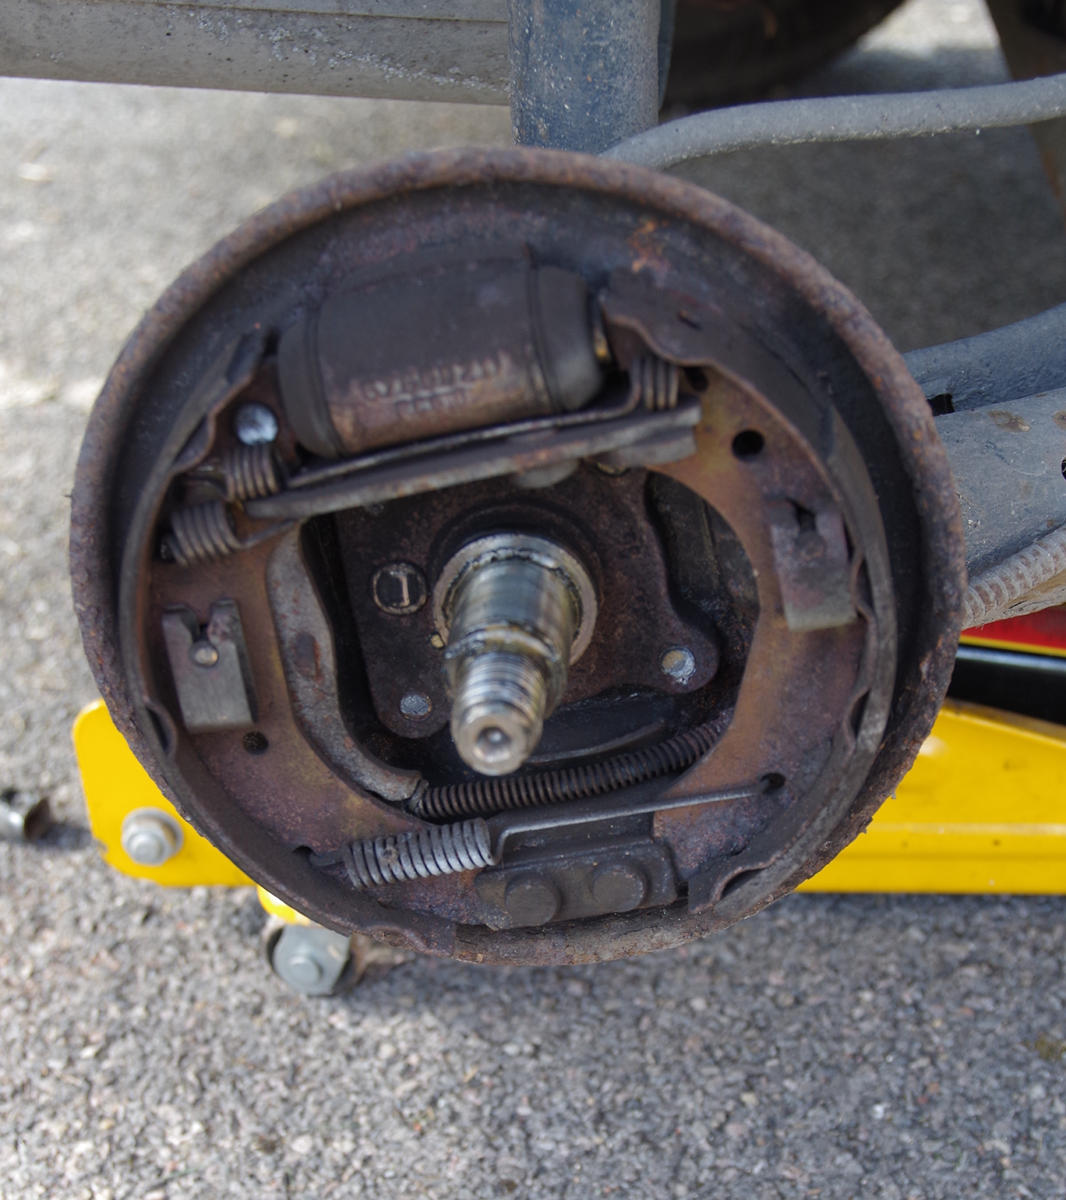
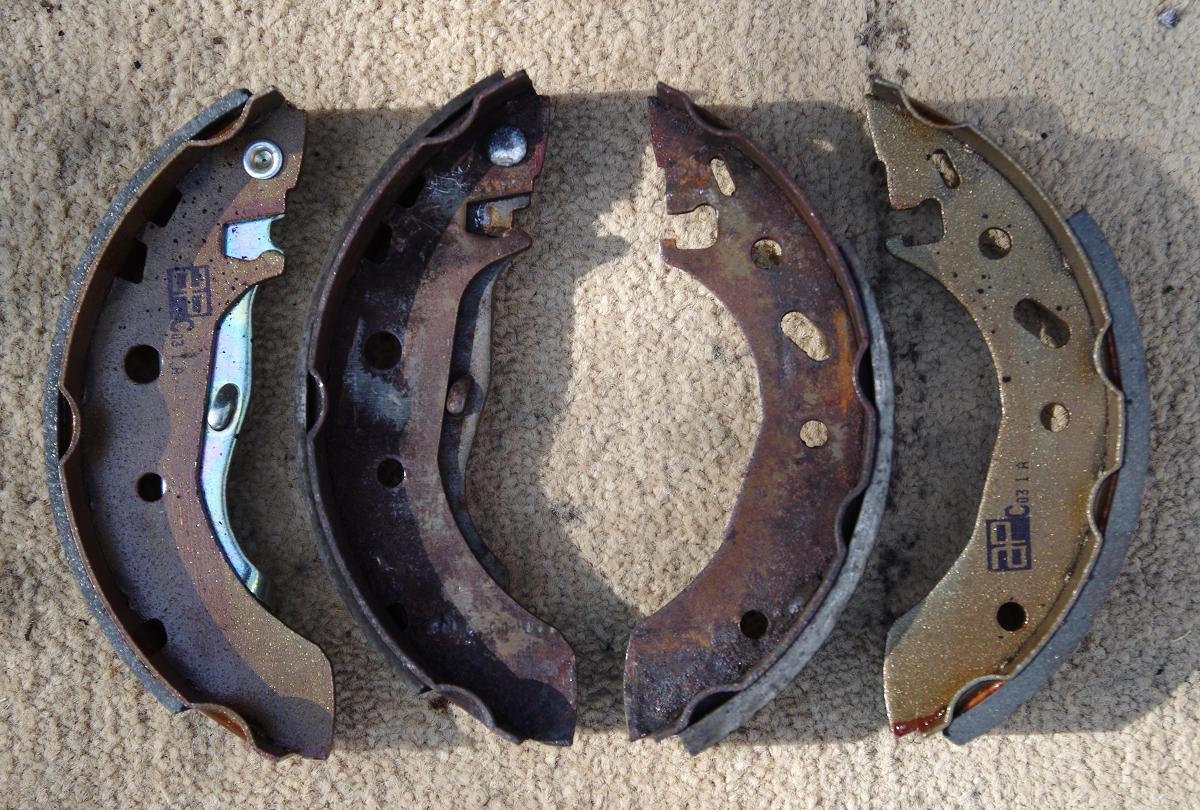
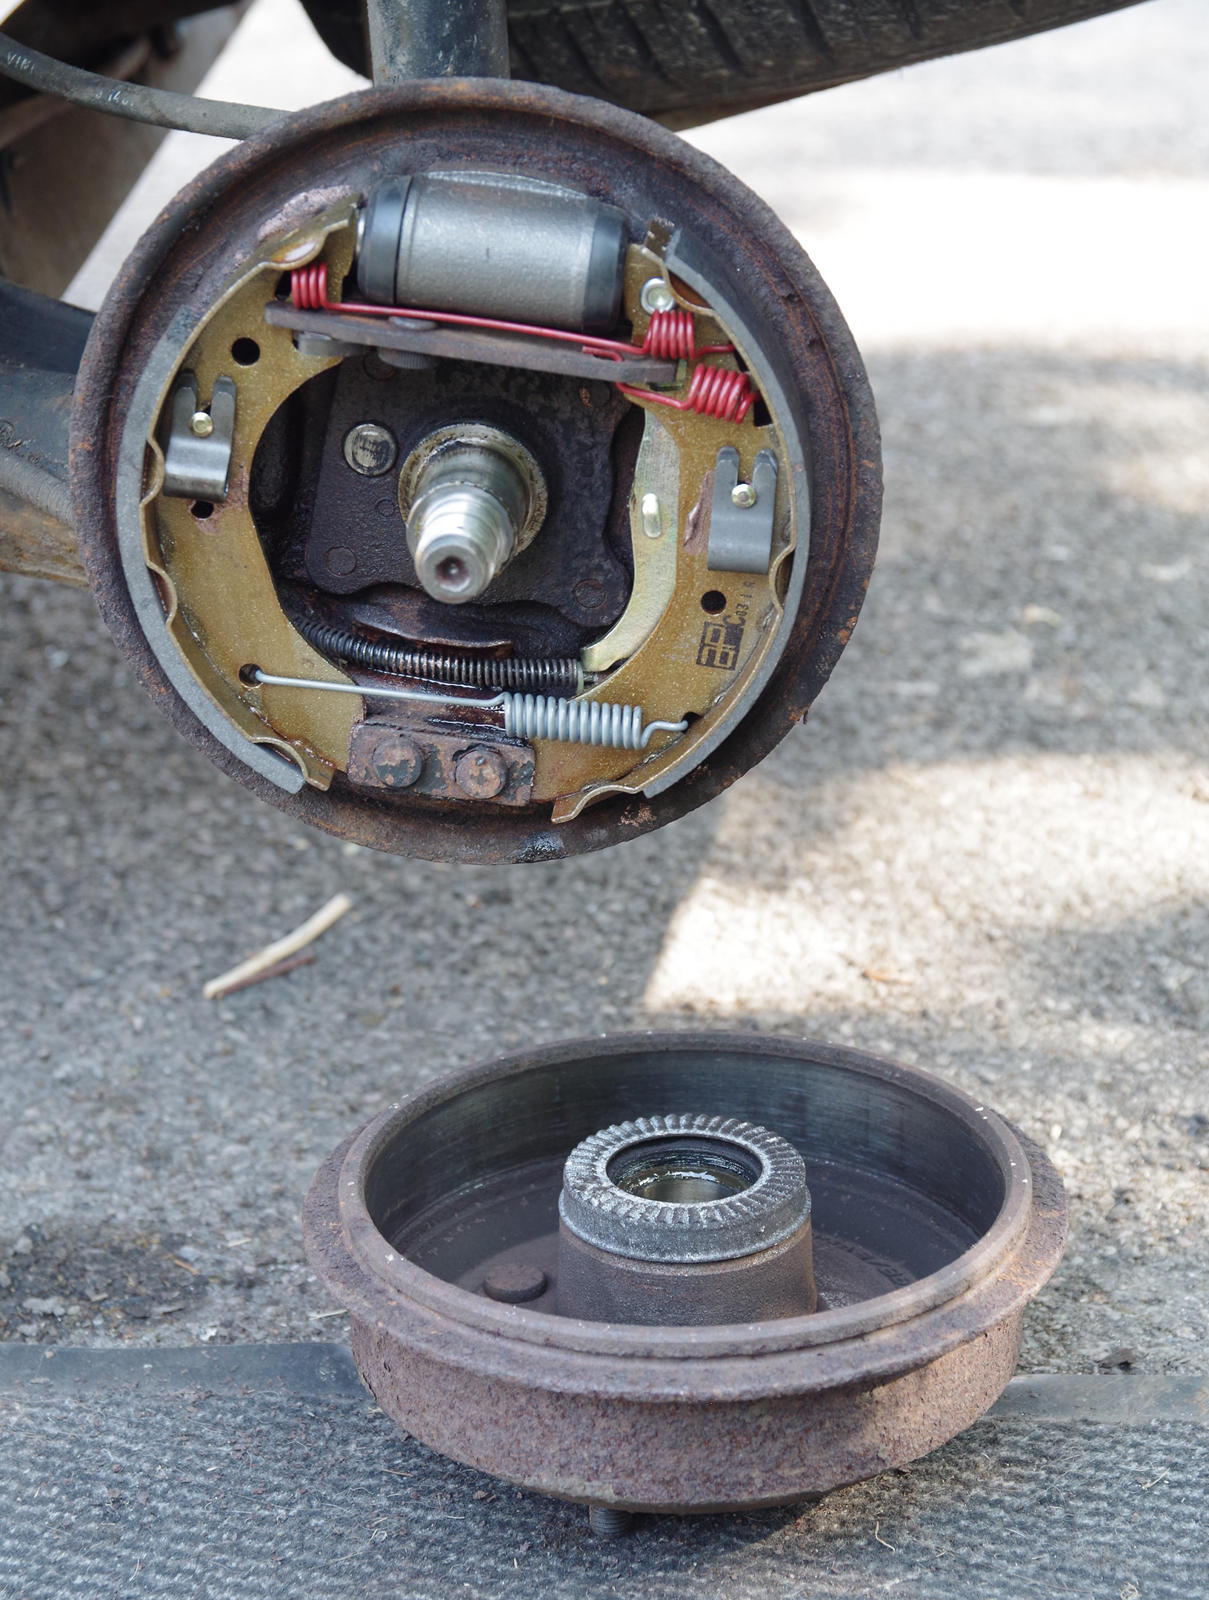
First up are the brake shoes on the Fiesta rear drum brakes. They have never been done before and on the few occasions I checked them they showed only modest wear. This is typical for brake shoes as they wear much more slowly than the pads on disc brakes.
I already had a set of shoes in stock which I bought about 15 years ago before I realised how slowly they would wear and since the car has now done 105 thousand miles and isn’t going to do that much again I decided it was time to fit them. In addition, I got an advisory on the last MOT that the rear brakes were poorly balanced (we’ll see why later).
Getting to the shoes is a bit of a pain as you have to remove the hub nut but fortunately it is well protected from rust and came off easily with my breaker bar. I did the offside wheel first and the shoes were well worn, but still within limits. Removing them and re-fitting was a bit of a pain as there are several strong springs which need to be removed and replaced with new ones. I also took the opportunity to oil the adjuster ratchet which looked like it might be sticking. After that the brake went back together without too much trouble.
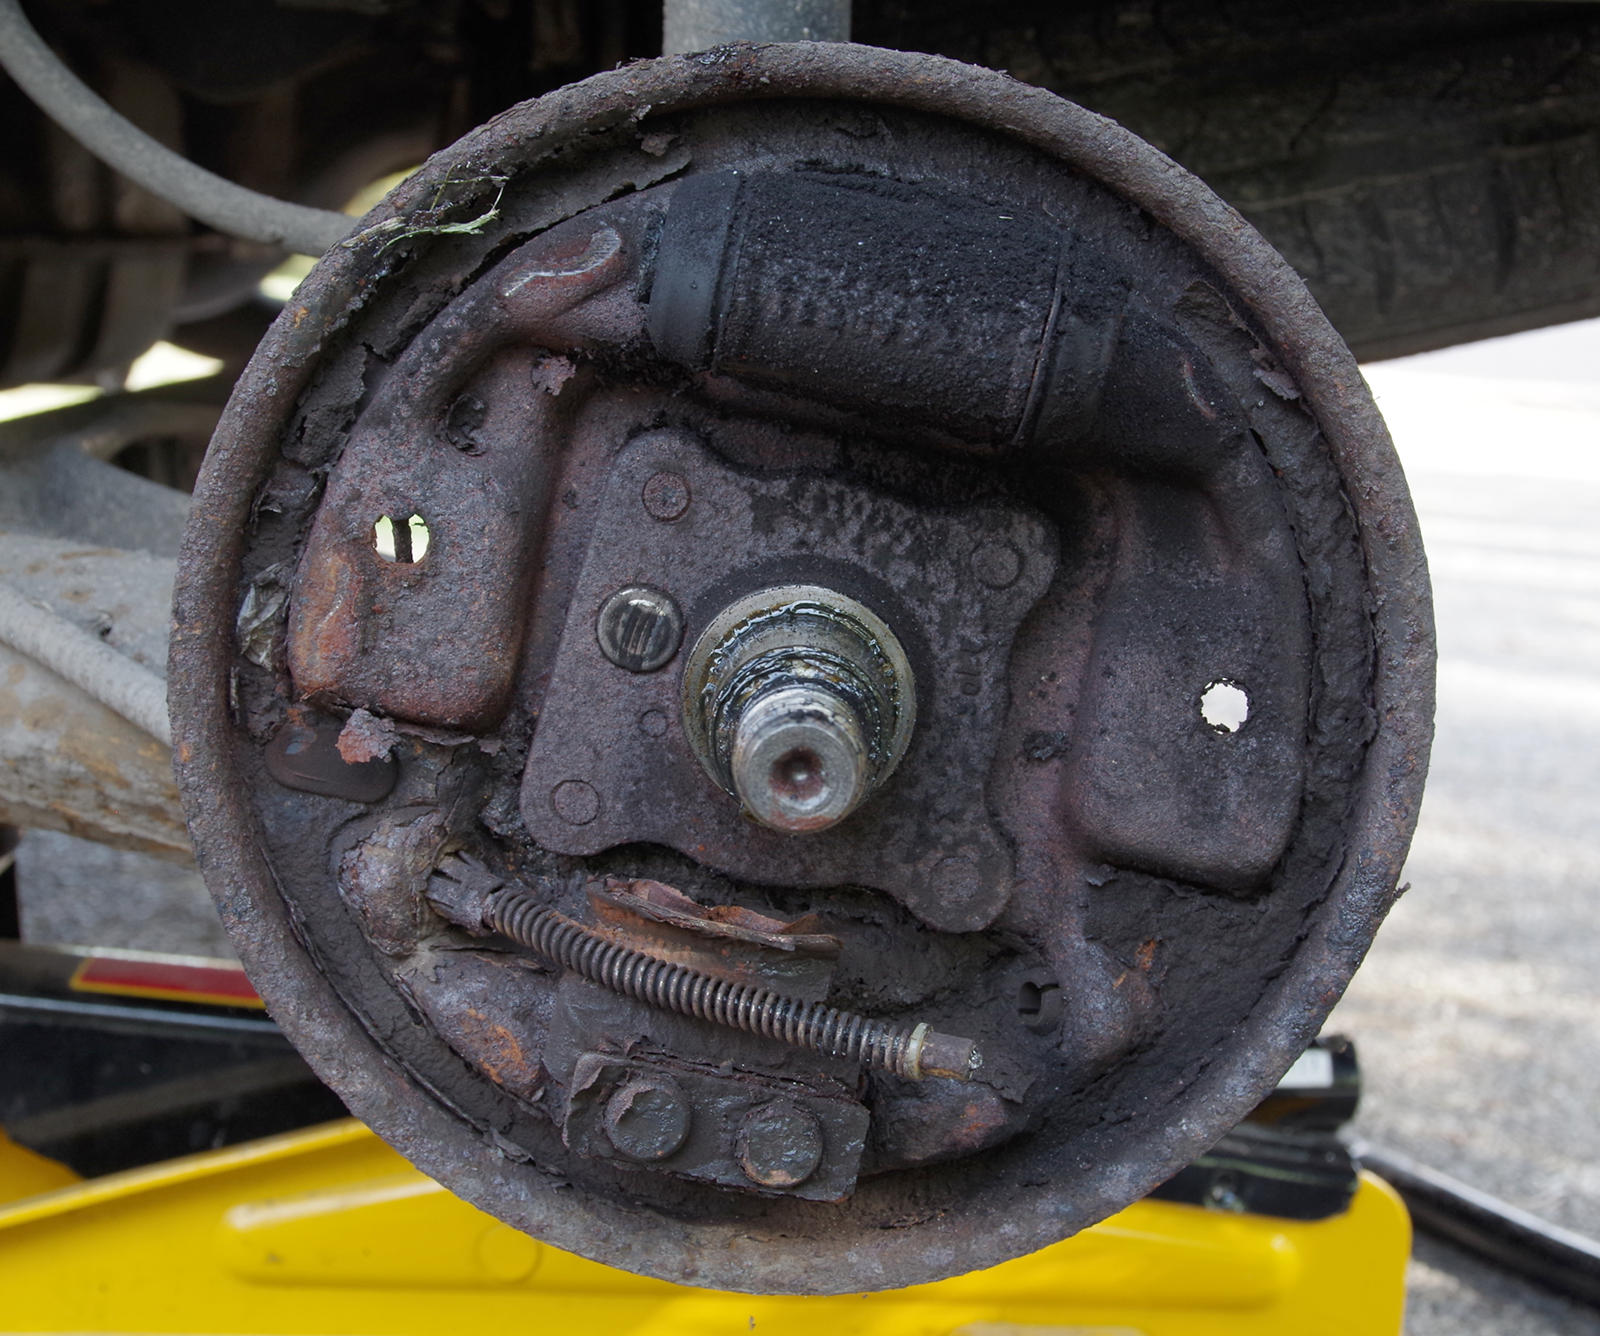
I then moved to the near side and it was immediately clear that something wasn’t right. The inside of the brake was much dirtier and it was seemed that brake fluid had been leaking. Investigating the cylinder I observed that the trailing piston was jammed. Clearly, this would explain the reduced brake performance.
Last time I had a similar problem on one of the front calipers I bought a brake cylinder refurbishment kit which basically consisted of a new seal and rubber boot. I looked into getting one for the rear cylinder, but although the same manufacturer makes one, it was difficult to find a reputable supplier. I decided in the end to buy a new cylinder from my local car factors who do a same day delivery service and – as we will see – it is a good job that I did.
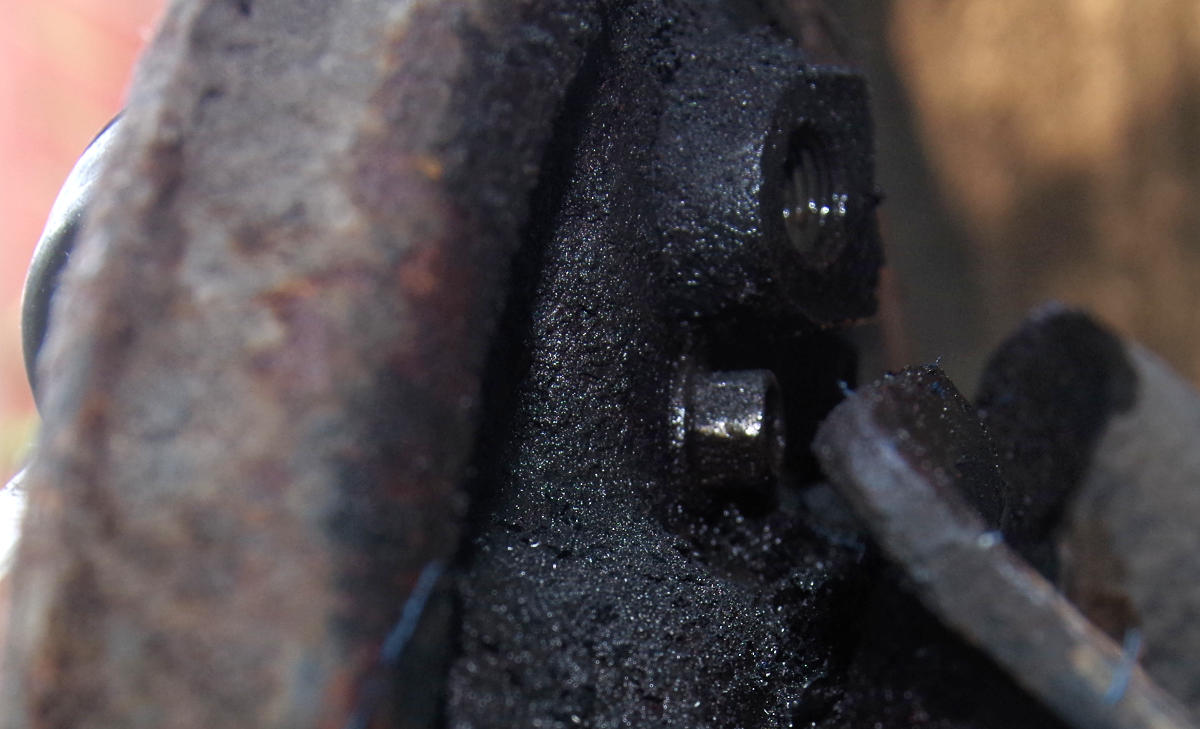
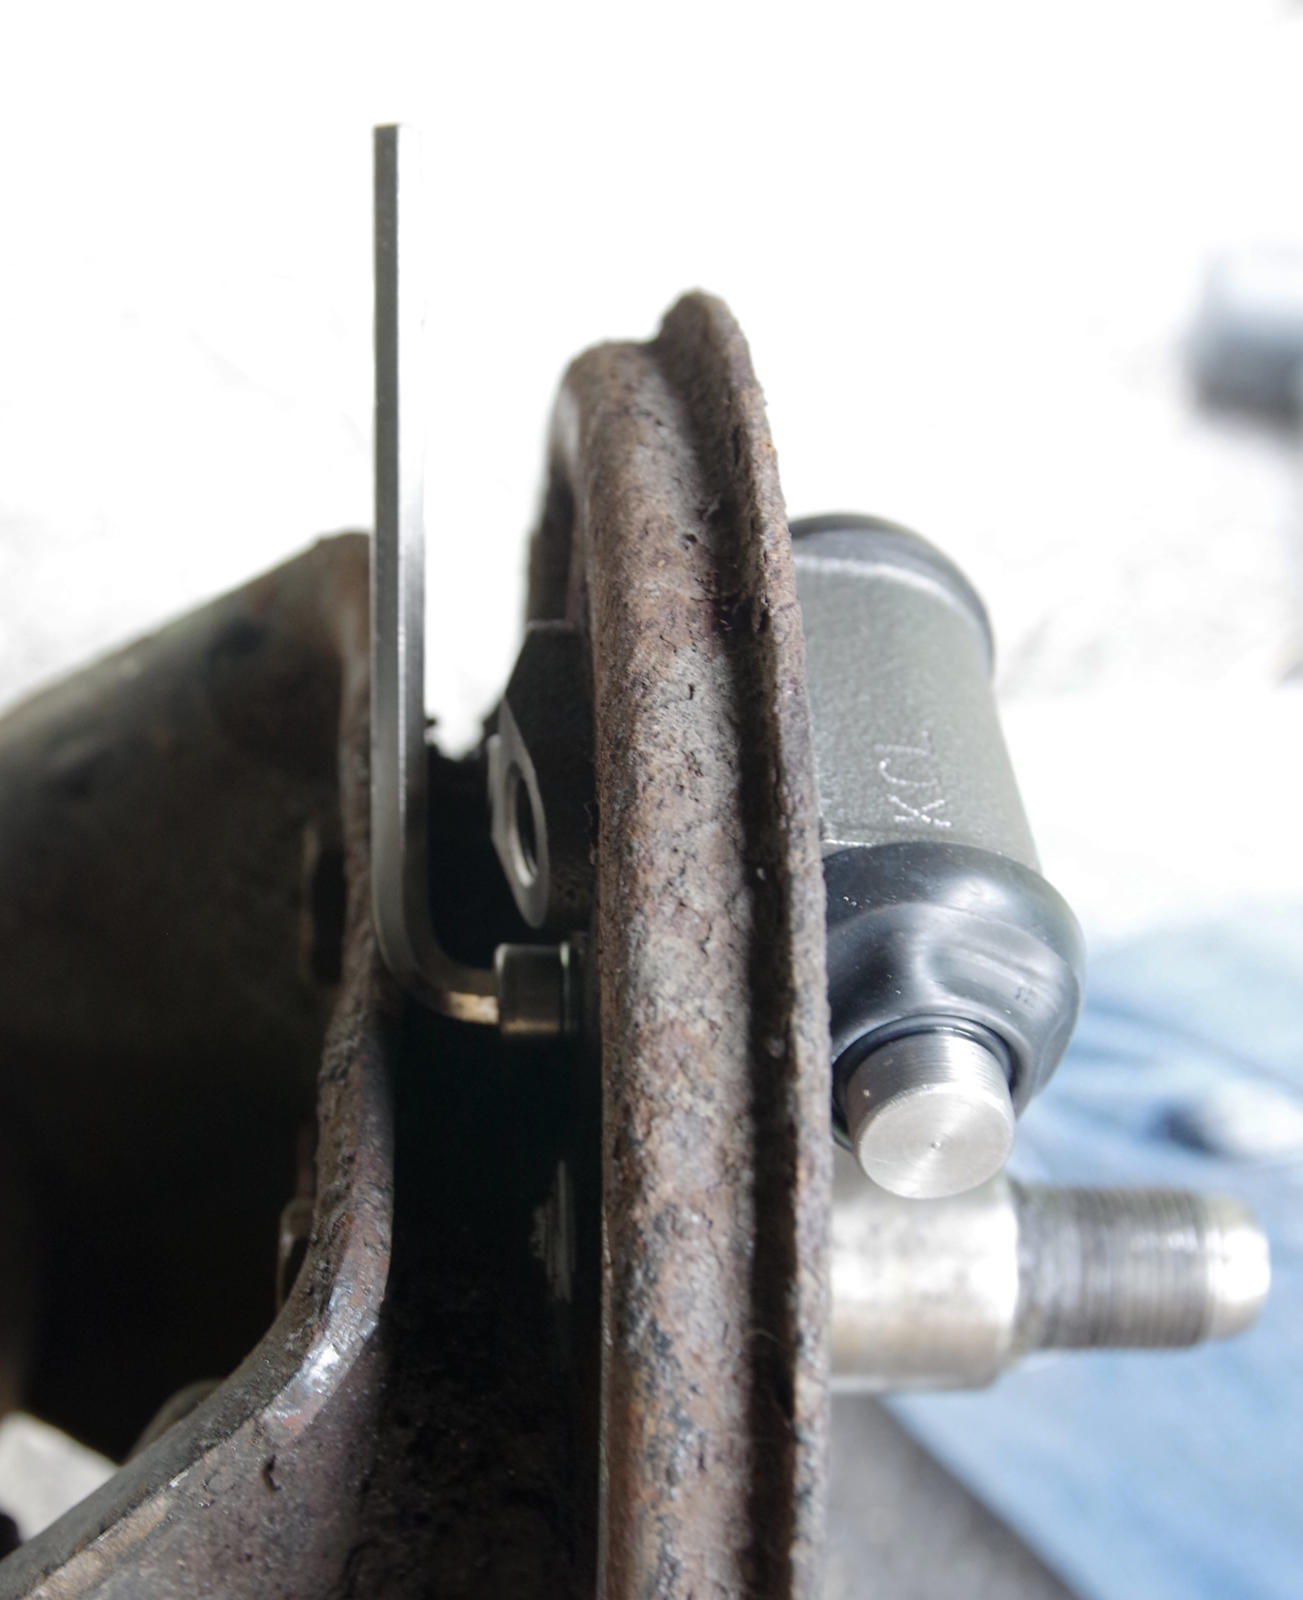
I removed the old shoes and after a lot of difficulty managed to disconnect the hose. Now all I had to do was extract the two bolts holding in the cylinder and it was here that my troubles really started. There is a large section of hub structure which extends over the top of the bolts making it impossible to fit a socket onto them. It is just about possible to get an 8mm ring spanner on, but there is almost no room to then turn it. In addition, the bolts are exposed to the elements and had badly rusted.
Of course, the Haynes manual makes it all look ridiculously easy, but that is because the photo in the book is of the rear hub on the van version of the Fiesta which is constructed differently such that the bolts can be easily removed with a socket.
After a couple of hours of trying every possible combination of spanners all I had succeeded in doing was rounding off the heads of the bolts so that the ring spanners wouldn’t grip them any longer.
At this point my decision to buy a new cylinder paid off as I concluded that the only solution was to saw off the bit of cylinder above the bolts (the bit with the threaded holes for the hose and bleed nipple) to give me better access and allow me to use a normal spanner.
Fortunately, the metal was relatively soft and about half an hour of sweating with the hacksaw (the powered one wouldn’t fit under the wheel arch) saw it removed.
The improved access allowed me to remove one of the bolts but it was very stiff due to rust and the other one still wouldn’t shift. I therefore had no choice but to cut the bolt head off and I was finally able to remove the cylinder. Of course, this left me needing some new bolts!
I quickly concluded that they were M6 and started hunting round my garage for something suitable. I found some hex head M6 bolts but the heads were even bigger than on the ones I had removed and I rather doubted that there would be room to get a ring spanner over them. “What I need”, I mused, “is some M6 socket head bolts which I could then tighten with a cut down Allen key”.
At this point the Gods took pity on me and directed my gaze to a small plastic pot on the windowsill labelled ‘M6’. Inside was a bag of about 30 M6 socket head bolts! When, where or why I ever bought them I have no idea. They were a bit too long, but it was the work of a moment to shorten them.
I was reluctant to cut down one of my usual Allen keys as they are a set. Fortunately, I keep all of the odd Allen keys that come free with things like self assembly furniture and by great good fortune (again) there was one of a suitable size. Being tool steel it wasn’t going to cut very easily with my hacksaw and I don’t own an angle grinder. However, it soon succumbed to the edge of my grind wheel although I did become quite extraordinarily hot.
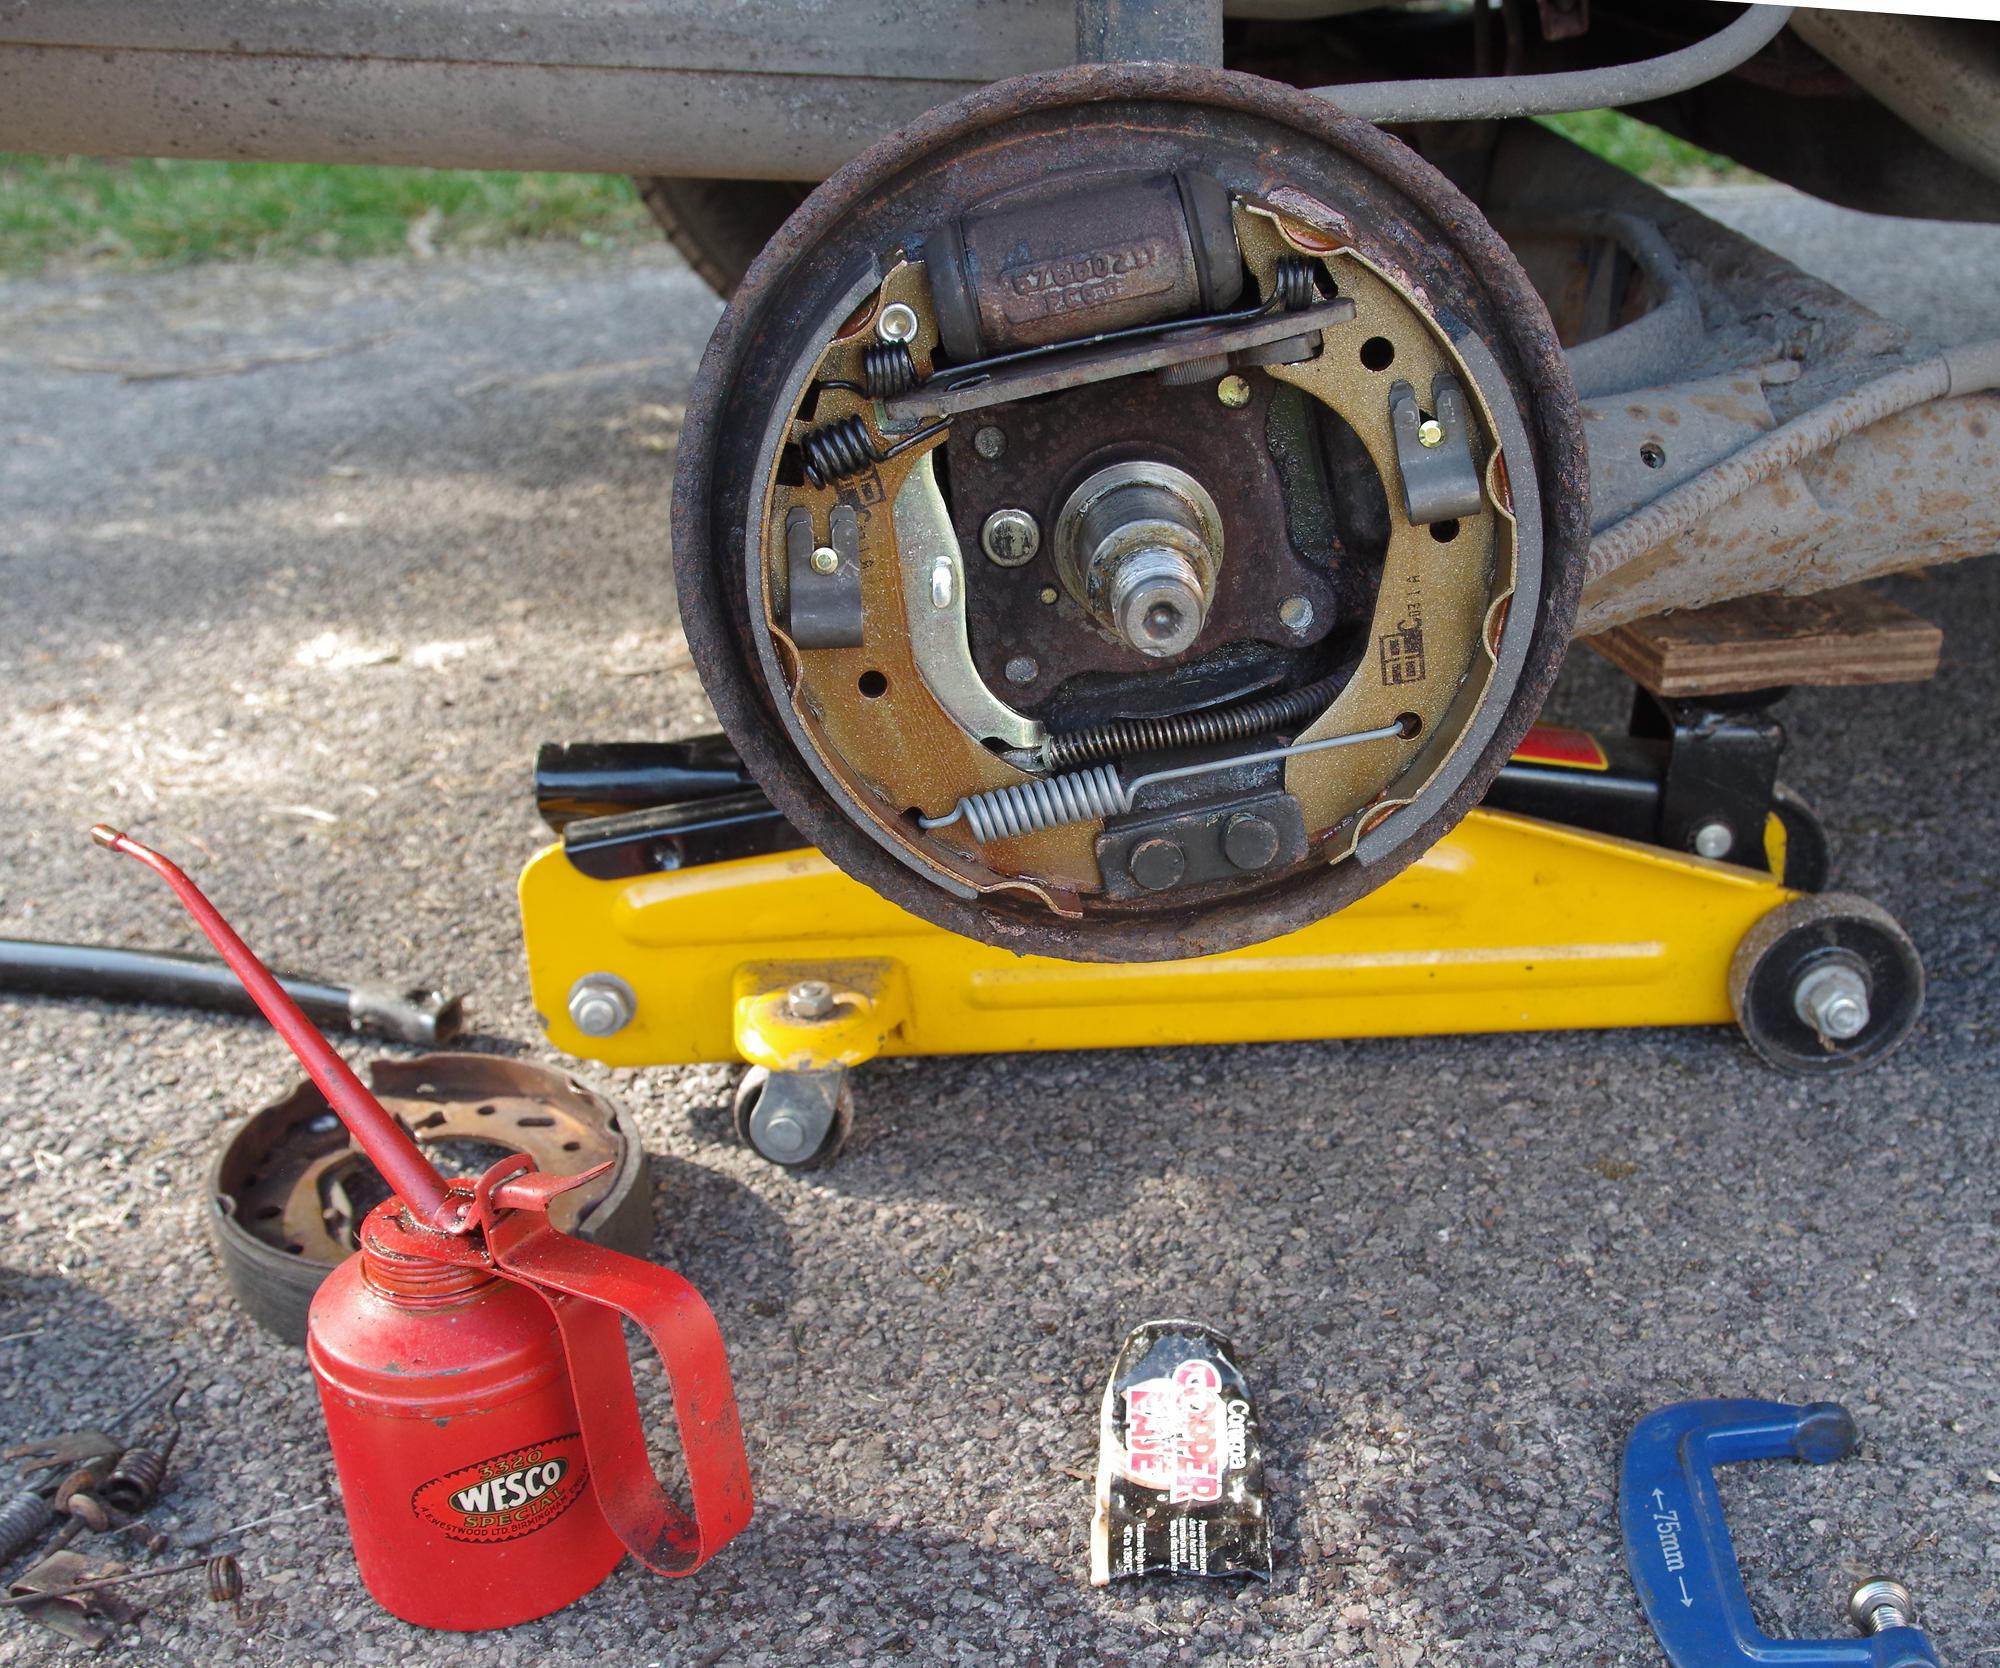
Armed with my new bolts, special Allen key, my trusty tube of Copper Ease and a couple of split washers for good measure it was the work of only a few minutes to install the new cylinder whilst wondering why it hadn’t occurred to Mr Ford to secure it like that in the first place.
With that task done, installing the new shoes was again relatively easy although one ideally needs three hands to hold everything in place against the springs until the securing clips are fitted,
Note for youngsters: If you need to cut a bolt shorter then thread a couple of nuts onto it first. Not only does this make it easier to hold in the vice, but once you have cut the bolt and then filed down the burrs the end of the thread will be damaged and it may be hard to get a nut onto it. But, the process of removing the two nuts will ‘correct’ the damaged thread for you.
