Another year and another MOT for my old Fiesta. As usual, it failed and this time the problem was the front offside top mount which was apparently badly worn. I also got an advisory for the other three together with both front springs.
With the weather being cold I decided to buy the parts for both sides of the front suspension but only fit the failed offside for now. Since I would have to remove the springs in order to replace the top mounts I decided to replace those even though they were just an advisory.
I was feeling rather uncertain about this task as I have a lot of trouble with front suspension work as everything tends to have rusted solid. There was also some suggestion that I might have to undo the ball joint and I always find ball joints particularly difficult.
As it turned out, the main bolt securing the suspension strut to the hub carrier came out quite easily and by bashing the hub carrier down I was able to get the strut part way out. However, there was simply no way that I could get out the last cm or so. The hub carrier wouldn’t go down any further and the strut obviously wouldn’t go up against the spring. I tried various ways of pushing it up with the aid of the jack, but without success.
At this point I had an idea. Since I would need to compress the spring anyway to get the top mount off, why not do that now and get enough slack to be able to push up the strut.
By removing the wheel arch liner there was just enough room to get my spring compressors into place. There was a slight snag in that the end to which you have to apply the spanner was at the top, but there was just enough room to get a spanner in. I slowly but surely compressed the spring and eventually, after a great deal of effort I was able to push the strut up sufficiently to get it out of the hub carrier. It was then simply a case of undoing the top securing bolt located under the bonnet.
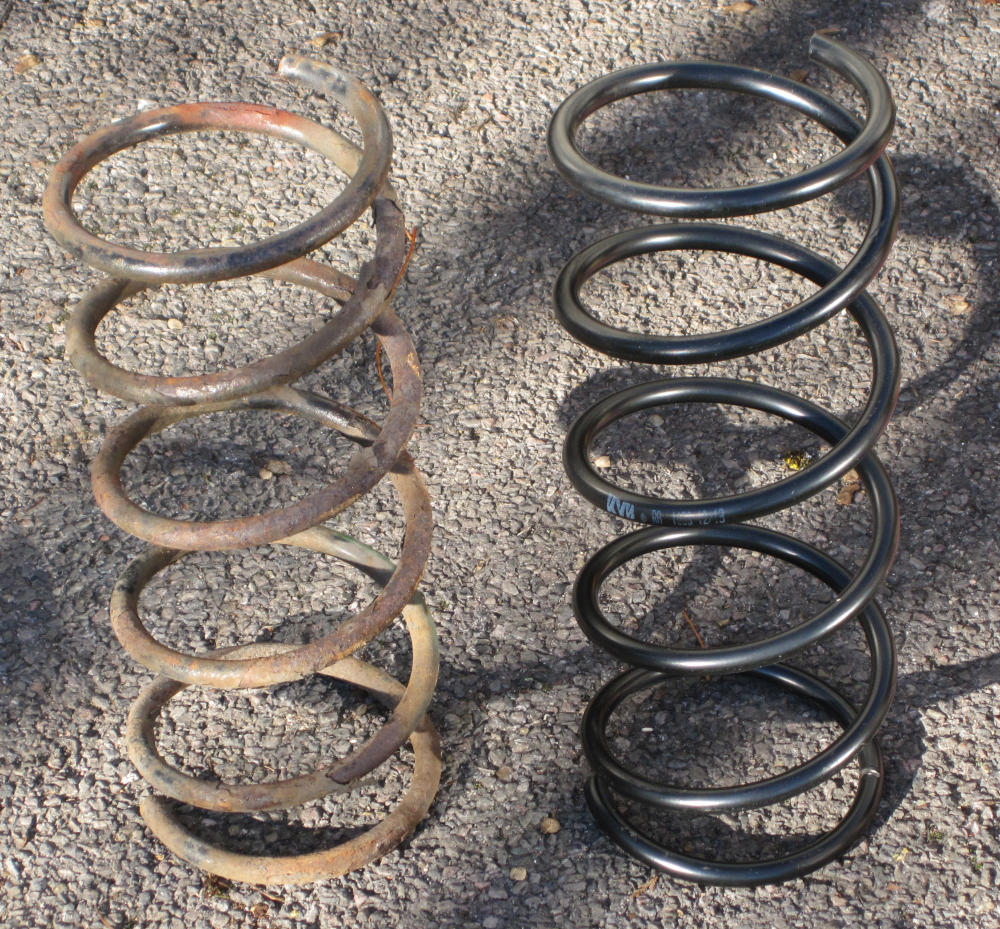
I removed the top mount rubber and steering bearing and slowly released the spring. Below see a comparison of the old rusty spring and the new one.
It was at this point that I spotted a snag. When bashing the hub downwards I had failed to notice that I was stretching the brake hose and it was clearly damaged where it went into the caliper. This would therefore need replacing, but as it also had an advisory this wasn’t the end of the world.
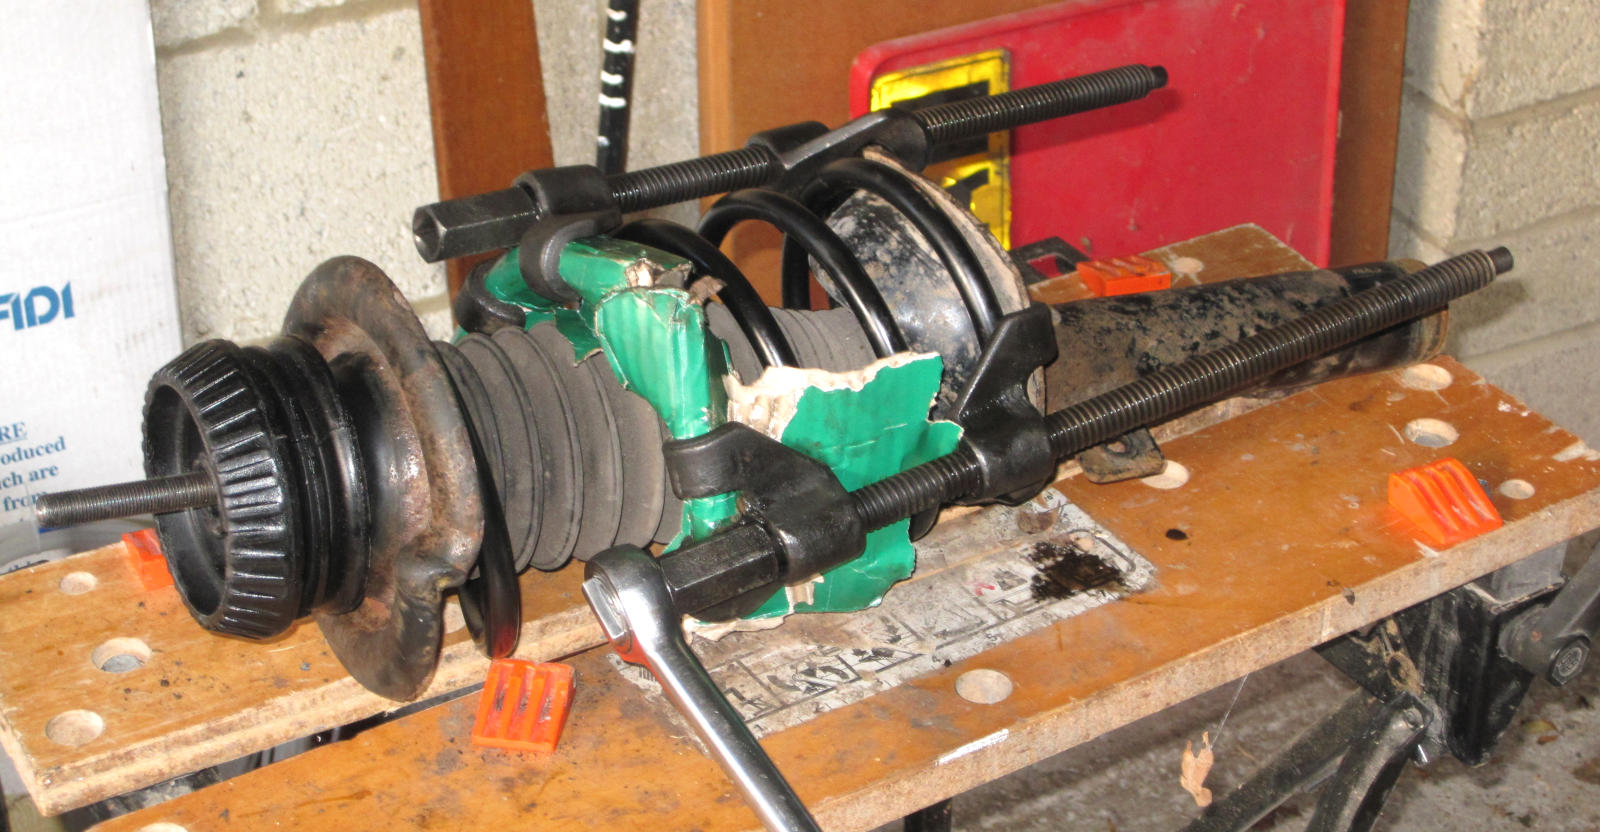
It was now time to compress the new spring and fit the new top mount components. The photo below shows this task underway. Note the bits of cardboard to protect the paint on the new spring as even a small scratch will allow rust to take hold.
I left the spring compressed when I re-installed the strut as this again allowed me to get the strut into the hub carrier. It was then just a case of slowly and rather awkwardly releasing the spring and replacing the securing bolt.
I am pleased to report that the car then passed its MOT.