Regular readers will recall that I have been having problems with the fuel pump on my old Mk 4 Fiesta. Well, whilst I was in the process of fixing the rear brakes it seemed to fail completely. I guess I should be grateful that it always seems to pack in when the car is on the drive!
This time the fuse didn’t blow leaving me not entirely sure that the fuel pump was the problem. I spent some time trying to prove this because replacing the pump on the Fiesta is a complete pain as we will see. In the end I managed to demonstrate to my reasonable satisfaction that the pump wasn’t drawing any current. In retrospect an easier test would have been to disconnect the fuel filter (which is easy), crank the engine and see if any fuel came out.
Opinions on the internet seemed to be that (a) pump failure on Mk 4s is quite common and (b) often the issue is with the pump connector not the pump itself. I therefore decided not to order a new pump until I had checked the connector.
Sadly, access to the pump and connector is really hard. The tank is in the usual location of underneath the rear seats and the pump is installed in the top of the tank. On my Mk 5 Golf there is a hole underneath the rear seats to provide access but sadly not on the Fiesta. Some people online have apparently resorted to cutting such a hole but I didn’t like the sound of that, even assuming I had an angle grinder and cut in the right place and didn’t slice through any cables or pipes whilst doing so.
The only solution therefore was to follow my well thumbed Haynes manual and remove the tank from the bottom of the car. A task which the editors had optimistically marked as “Three spanners complexity”.
The first step was clearly to remove as much fuel as possible to reduce tank weight. There is no drain valve so clearly I was going to have to pump it out (fortunately the tank was less and quarter full). After some investigation I concluded that the cheapest solution was a “jiggle syphon” (a new concept for me). Fortunately my local Toolstation had one in stock and their “lockdown click-and-collect only” service was quick and efficient. I disconnected the filler pipe to provide access (although I had to cut off the rusted hose clip – or Victoria clip as some people call them) and it seemed to work reasonably well.
Sadly, tank removal can’t begin until the rear heat shield is removed and getting access to this and then pulling it out round the exhaust pipe involved far to much crawling around underneath for my liking. As always at this point I dreamed of owning a double garage with an inspection pit!
With all four retaining bolts now accessible, the Haynes manual suggested that I should support the tank with my jack, remove the bolts and lower it whilst disconnecting the return and vent pipes and the pump connector. This sounded rather dubious to me. One slip and the tank could fall and break the pipe and/or cable. It seemed likely that there was still some fuel which could slosh and suddenly change the centre of gravity. I therefore hit on a rather cunning plan!
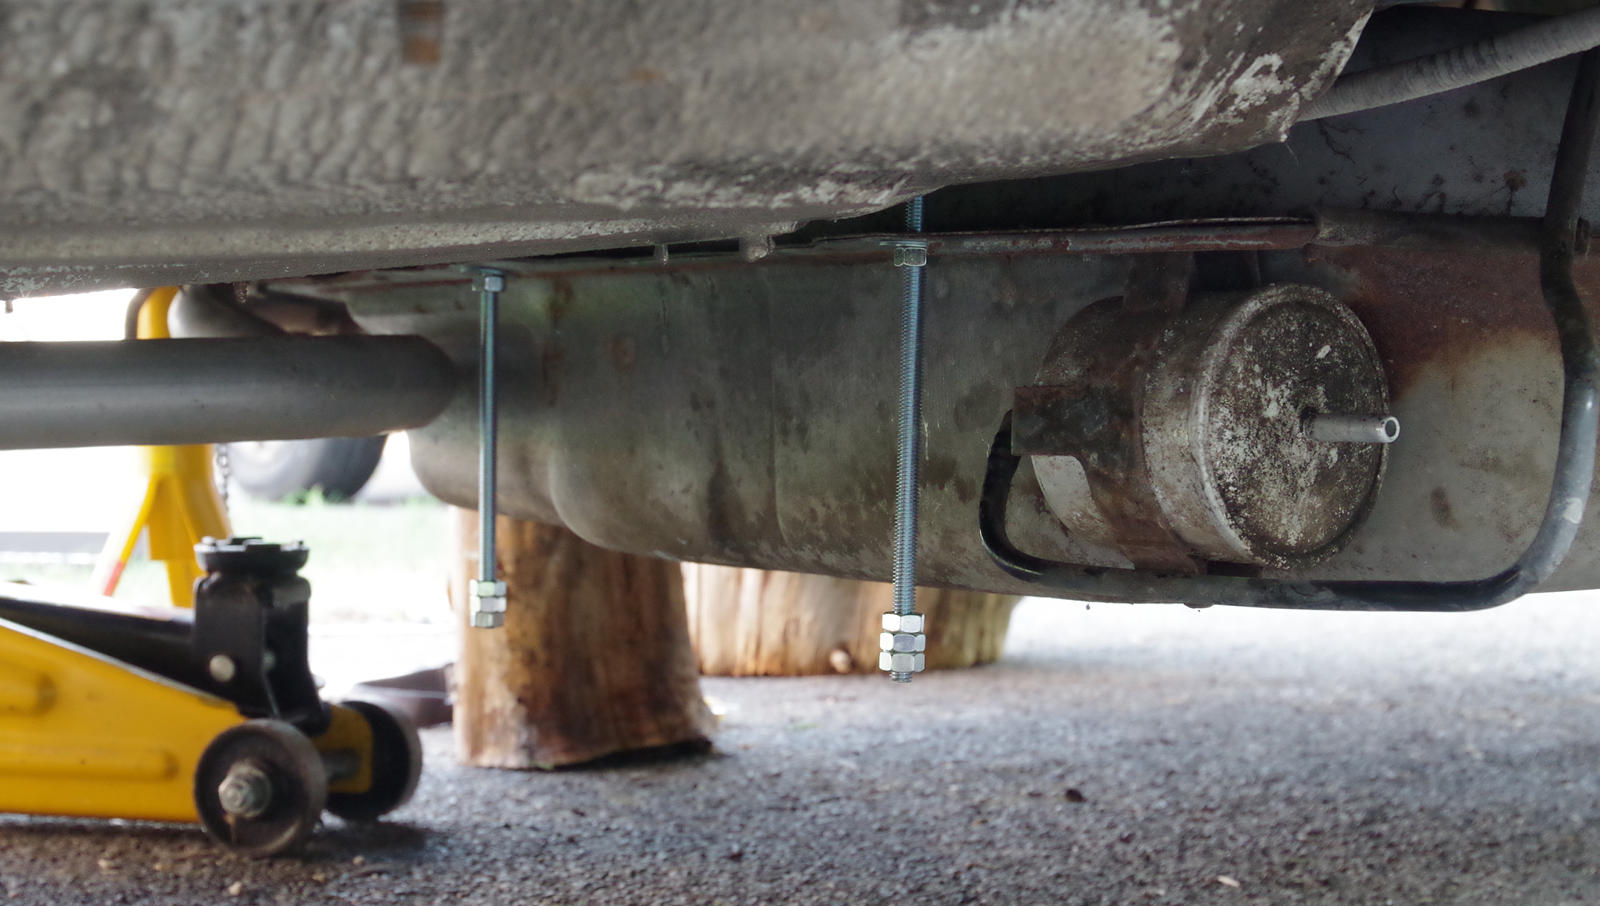
If I removed each bolt in turn and replaced it with a threaded rod with nut and washer I could then slowly and safely lower the tank. Amazingly, the only threaded rod I seemed to own was four lengths of the required M8. Again, the gods seemed to be smiling on me.
The scheme worked excellently and allowed me to safely remove the pipes and connector before the tank was lowered so far as to put any strain on them. Tip: To remove the connector you have to pull back a bent metal clip whilst working entirely by touch. The clip isn’t fixed to the connector and I nearly lost mine!
I had to switch over to wooden block supports right at the end of the the process as the tank has to be manoeuvred round the exhaust pipe and I couldn’t do this with the threaded rods still attached. However, by then I had already removed the connections to the car and it was nearly on the ground.
With the tank out I then wasted a considerable amount of time trying to decide whether the problem was with the pump or its electrical supply. This was really quite easy and I just wasn’t thinking about it clearly enough! Matters got worse after I removed the pump relay and pushed my meter probes into the relay socket. These bent the socket contacts and I then had the very delicate job of bending them back again!
Finally convinced that the pump was the problem I ordered a new one together with a new filter. The old filter wasn’t due to be replaced for 15,000 miles but it seemed best to swap it at the same time.
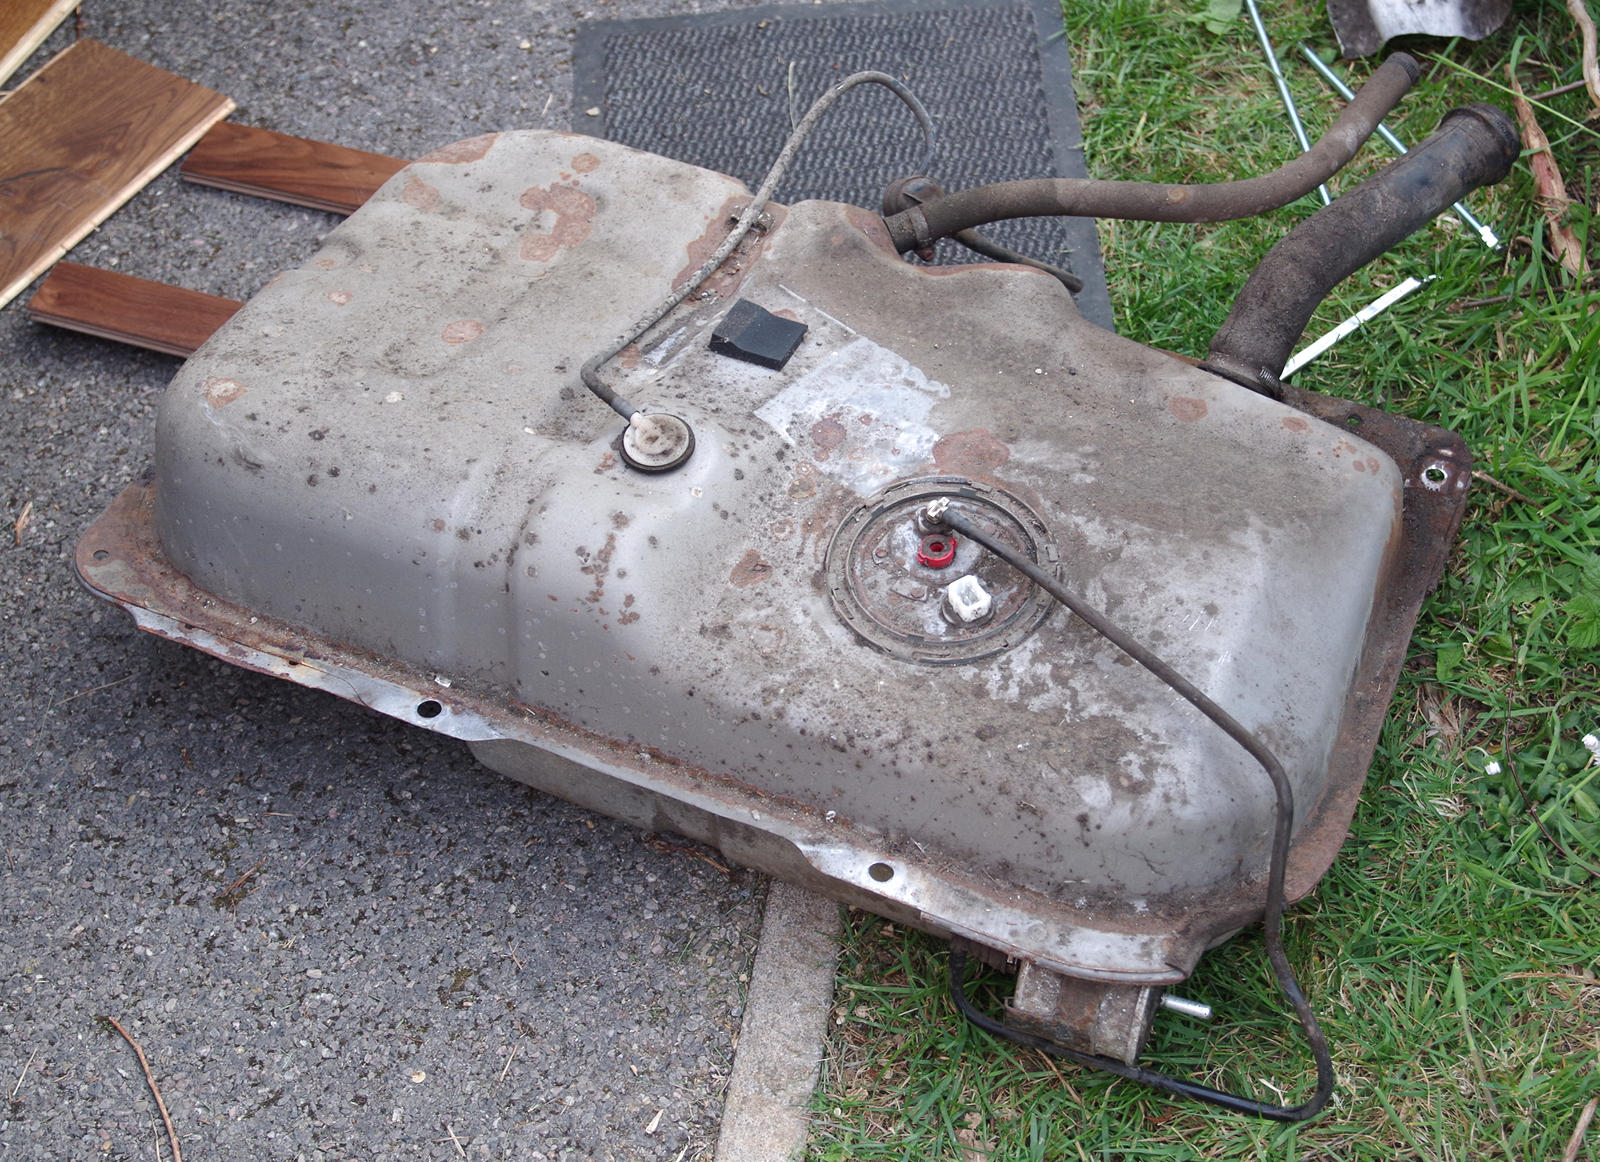
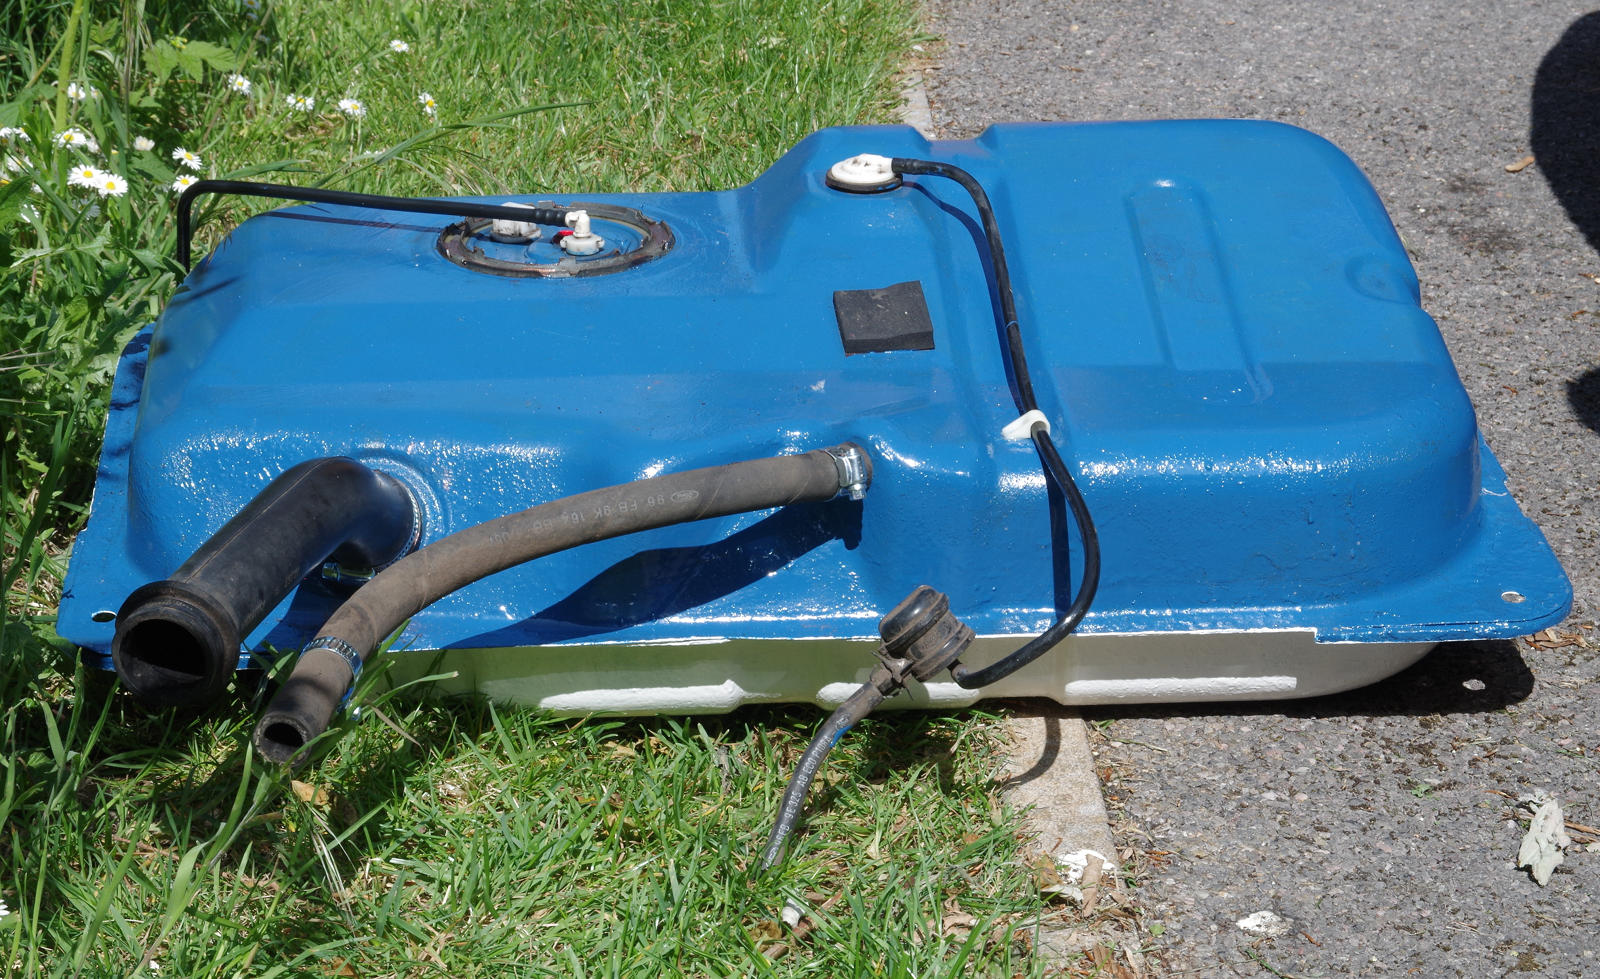
The tank was quite badly rusted, particularly on the top and the upper face of the flange which runs all round middle. I decided that treating the rust would be a productive way to use the time until the pump was delivered.
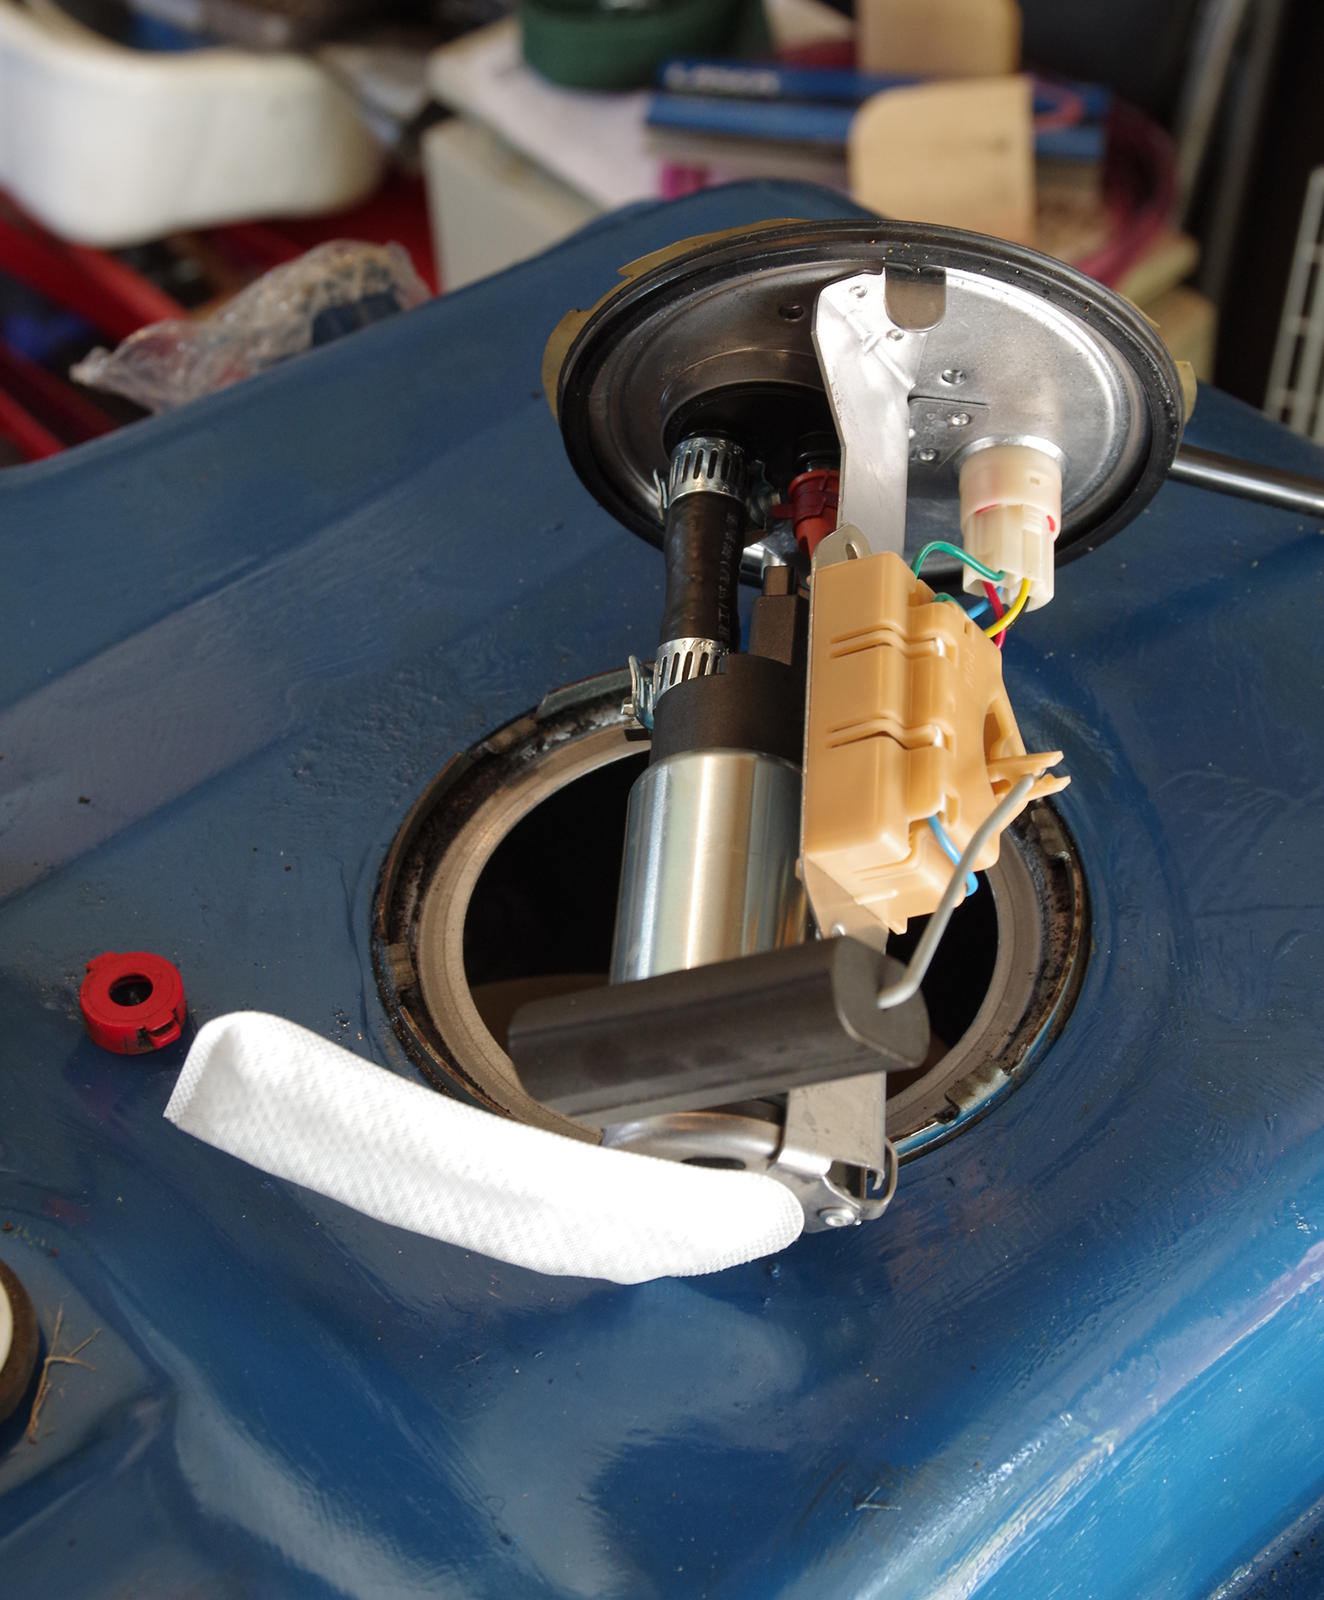
I first removed the loose rust with a wire brush on my drill and then applied a coat of my trusty Kurust anti-rust treatment. With this done I dug out some tins on Hammerite “direct to rust” paint which I felt would be just the stuff for the barely visible tank. I had a tin of white which would more or less match the car, but I didn’t want to use it all up so I decided to paint the top of the tank blue.
The paint went on OK, but it took quite a while as it needed two coats with four hours between them and I had to do different areas separately so I could hold the tank edge-on in my workmate.
I noticed that contrary to expectations, the bottom of the tank which is exposed to the rigours of the road was not actually rusted at all. I concluded that the bottom half must be made of stainless steel whilst the top half was ordinary steel. I guess this keeps down costs, not least because all the pipes and fittings are in the top half and machining and joining stainless is difficult.
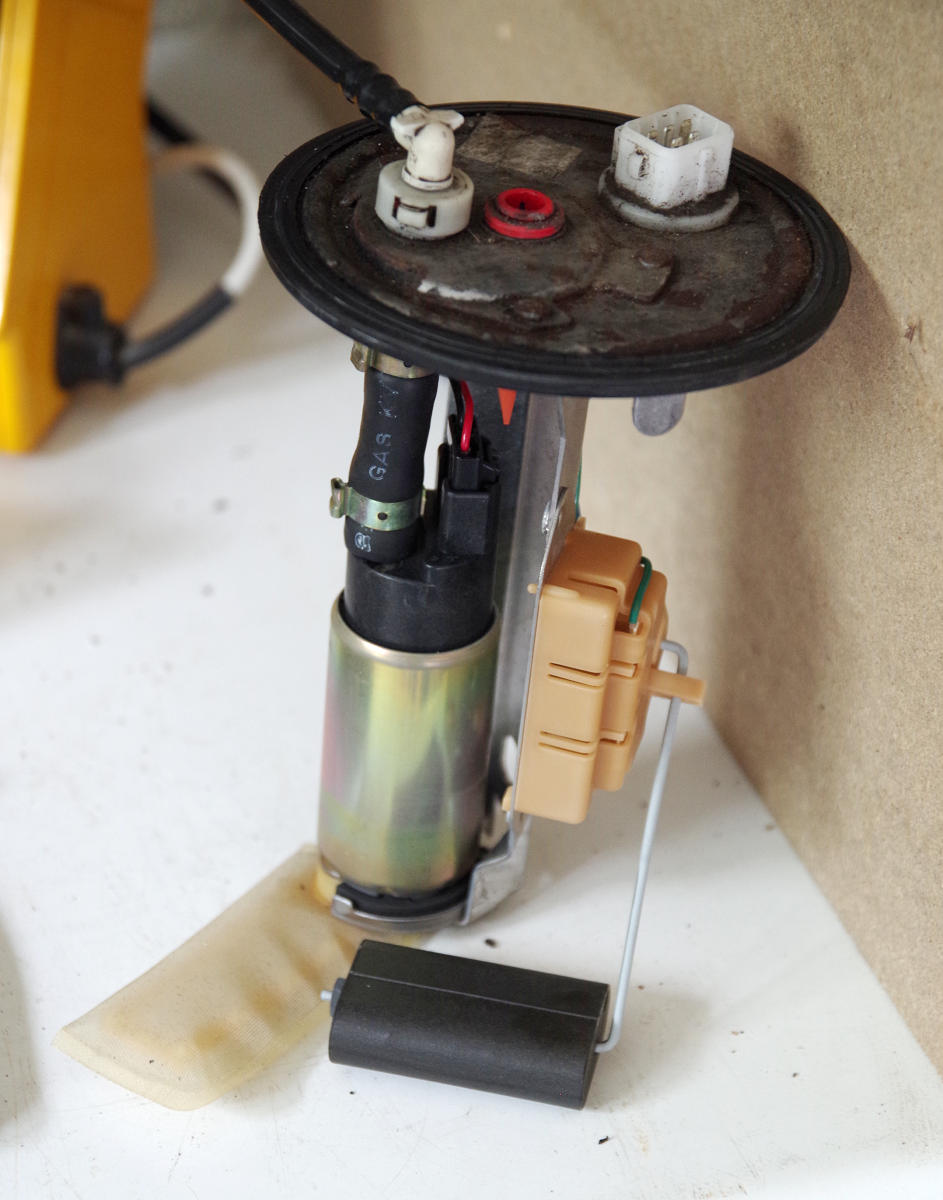
The new pump arrived. I could have bought a complete new pump unit, but to save some money I actually ordered a refurbishment kit which consisted of the actual pump itself and a new fuel level sender unit for fitting into the original pump housing and there were therefore problems.
Firstly, the instructions consisted entirely of very low quality pixilated photos. I had deliberately selected a kit from a reputable manufacturer (Bosch) and was rather disappointed by this.
The next problem was that the short rubber hose between the pump and the top plate was almost impossible to force into place even once I added some silicone pipe lubricant. As I was wrestling with it using my pliers I snapped a bit of plastic off the pump connector. Fortunately, it didn’t seem to be essential and the plug still fitted OK.
Finally, once I had the pump fitted to the housing I came to the matter of the level sender only to discover that it was completely incompatible! The suppliers website and indeed those of other suppliers clearly state that the kit is compatible with my car but there was no way that the sender unit was going to clip into place. I was rather beyond the point where I could send it back and didn’t want to have to wait another week or so for a replacement so I refitted the old sender unit as it wasn’t faulty. I will now have to write to the supplier and see what they say.
I was now finally ready to put the pump unit back in the tank and fit it back under the car.
The process of re-installing the tank went relatively well to start with using the same threaded rod scheme as used to remove it. Unfortunately, I decided to check that it was working before re-connecting the fuel return pipe as I hadn’t fully appreciated its importance. The engine stared, but soon fuel started to gush out of the unconnected pipe. I cut the engine as soon as I noticed and fortunately nothing ignited!
When I inspected the situation, I was horrified to observe that the blue paint had blistered and fallen off in some of the most rusted areas. I can’t understand this as the paint had by this point been drying for several days and the spec sheet says that it isn’t affected by petrol. I can only assume that the tins are too old and it can gone off. I managed to re-touch the worst affected area by crawling under the car as I wasn’t about to lower the tank again.
With the tank finally bolted into place, the process of the re-fitting the heat shield was even more painful than that of removing it!
